
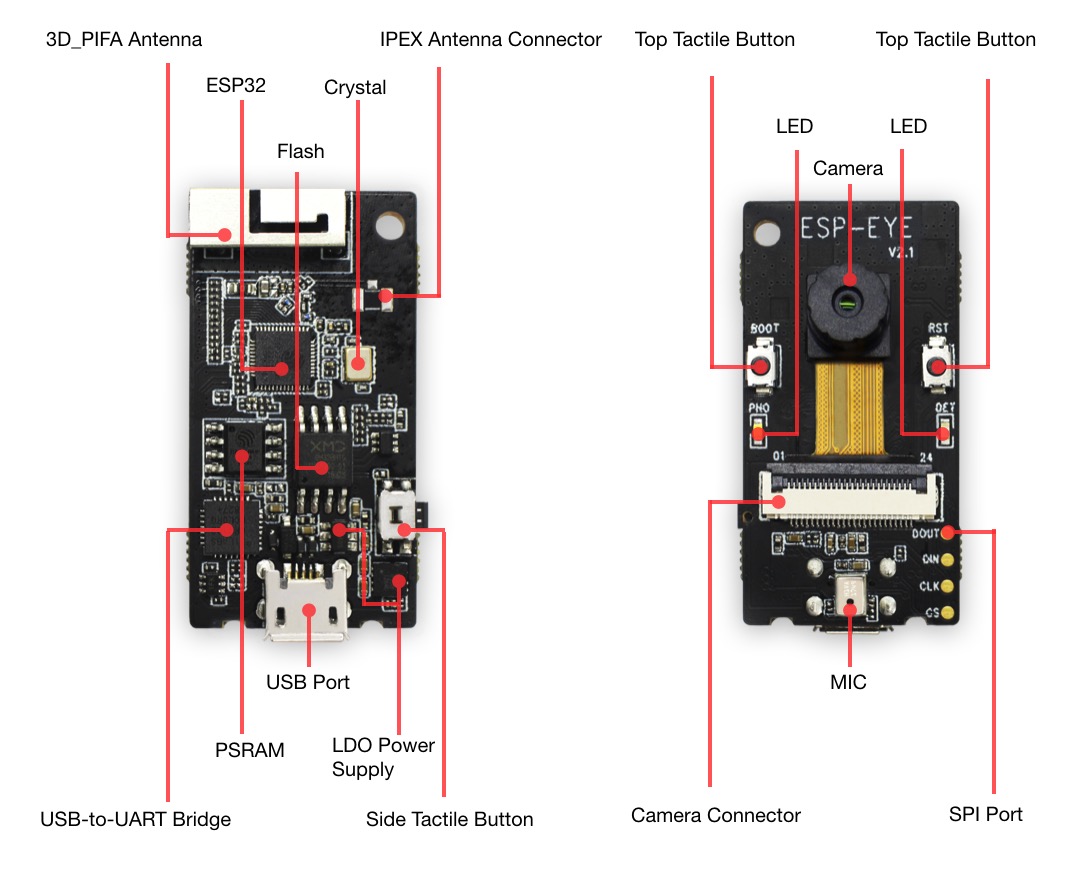
01 / Project overview
The first milestone is a repeatable camera initialization and a stream you can open on the same LAN. Espressif’s CameraWebServer example supplies the starting application. Camera pin mappings depend on the exact board; choosing a similar-looking module is not enough.
02 / Materials & software
| Item | What to check |
|---|---|
| ESP32 camera board | Identify the exact board and camera sensor. |
| USB programmer or onboard USB | Use the board’s documented flashing method. |
| Suitable power supply | Follow the board’s input specification. |
| Wi-Fi and browser | Keep the first test on one local network. |
03 / Connections & first setup
Seat the camera ribbon with power disconnected and follow the connector orientation for your board. Do not invent GPIO assignments. Current example revisions use board configuration files; keep the example and Arduino-ESP32 package from a compatible revision.
04 / Build the project
- Freeze the baseline
Record the Arduino-ESP32 version and save the official example. Select the correct camera board configuration. Enter Wi-Fi settings in your local copy and keep credentials out of shared screenshots and repositories.
- Read the serial output
Upload and reset the board. Confirm camera initialization and note the reported local address. Solve sensor or pin-map errors before changing resolution, frame buffers, or image quality.
- Start with a modest image
Open the reported address from a device on the same LAN. Start with a moderate resolution and one viewer. Increase one image setting at a time while watching for restarts and broken frames.
- Measure useful behavior
Record startup time, a short observation period, and whether the stream recovers when the browser reconnects. Compare two locations on the same network before blaming the camera for a weak wireless signal.
- Package the prototype
Keep the lens unobstructed and the board ventilated. Give the project a clear local name and document its address-discovery method. Use an authenticated access solution if remote viewing becomes a later requirement.
A small test record
Board / sensor: record exact model
Arduino-ESP32: record installed version
Resolution: chosen test setting
Viewers: 1
Result: restarts, frame stalls, reconnect behavior
05 / Check the result
| Check | Expected behavior |
|---|---|
| Cold start | The camera initializes after power is restored. |
| Browser reconnect | A new viewing session opens normally. |
| Image adjustment | Changing one setting has an observable result. |
Troubleshooting. Repeated resets can be a power problem. Camera probe errors often indicate a mismatched model definition or ribbon connection. Keep the unmodified example available so you can distinguish a hardware issue from an application change.
06 / Sources & build notes
Prepared by PineMux from the official sources above. These are editorial build instructions; this project has not been bench-tested by PineMux. The cover shows reference hardware or a source project; image credit is provided above. Use the manufacturer’s revision-specific diagrams for exact wiring.