
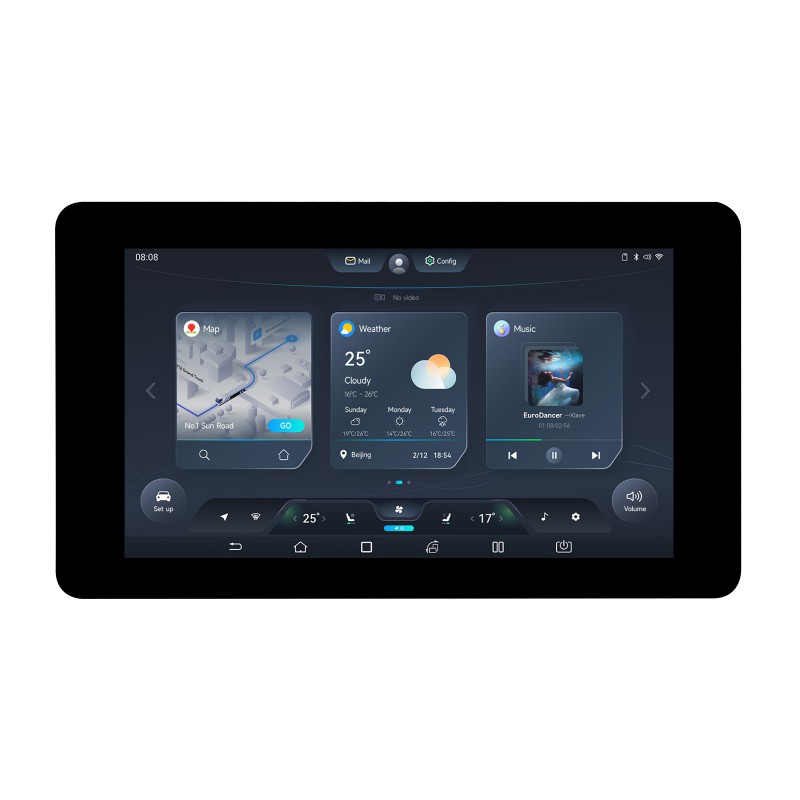
01 / Project overview
A good home panel shows a few important states clearly and responds consistently to touch. ESPHome’s LVGL component provides the interface layer. Display and touch drivers remain board-specific; select a documented combination before copying a screen layout.
02 / Materials & software
| Item | What to check |
|---|---|
| Supported controller and display | Choose a board with documented ESPHome support. |
| Touch controller | Confirm its driver and calibration requirements. |
| Stable power | Use the board’s recommended supply. |
| ESPHome environment | Record the version and keep device secrets separately. |
03 / Connections & first setup
Use the board’s verified display, backlight, and touch configuration first. Treat those pins as occupied. If a display requires external wiring, check voltage levels and connector orientation before power; the UI definition cannot correct an electrical mismatch.
04 / Build the project
- Bring up a blank screen
Compile the documented minimal display example. Confirm rotation, color order, and backlight control. Then test touch coordinates at all four corners before placing any buttons.
- Choose three states
Design one screen with room temperature, one light, and connection status. Use fixed values at first. A compact layout is easier to test than a page full of controls that are not connected yet.
- Bind real entities
Connect one value at a time. Give unavailable data an explicit presentation instead of leaving an old value looking current. Keep the last update time visible when that matters to the decision.
- Separate request and result
On a tap, show a pending state until the device reports its new state. Handle a failed or delayed response. A button changing color locally does not prove that the remote light changed.
- Test ordinary use
Try the panel after a restart and after a connection interruption. Make important targets large enough for a finger and keep labels away from the screen edge. Save a minimal working configuration alongside the full dashboard.
Control state model
OFF -> tap -> PENDING
PENDING -> confirmed on -> ON
PENDING -> timeout -> UNAVAILABLE
UNAVAILABLE -> fresh state -> OFF or ON
05 / Check the result
| Check | Expected behavior |
|---|---|
| Touch corners | Coordinates match the displayed orientation. |
| Device offline | The panel does not claim a successful action. |
| Reconnect | Fresh values replace stale state without a reset. |
Troubleshooting. An unresponsive button may be a touch mapping problem rather than an entity problem. Test the input first, then the network action. If a complex screen is slow, remove animations and extra widgets before changing low-level display timing.
06 / Sources & build notes
Prepared by PineMux from the official sources above. These are editorial build instructions; this project has not been bench-tested by PineMux. The cover shows reference hardware or a source project; image credit is provided above. Use the manufacturer’s revision-specific diagrams for exact wiring.