
01 / Project overview
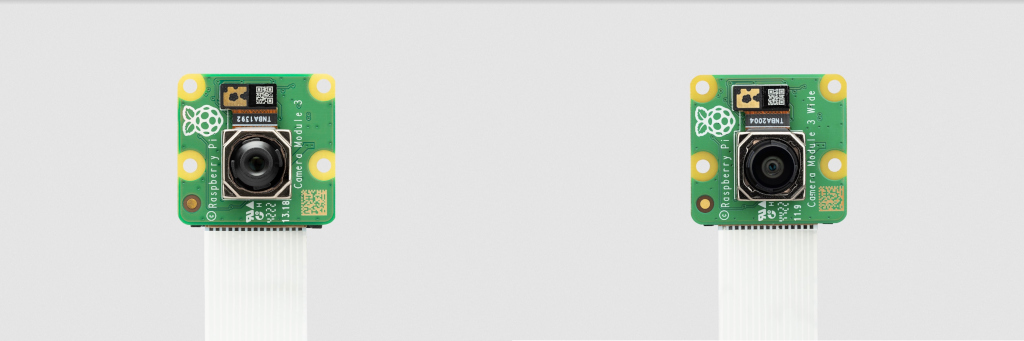
A time-lapse depends on consistent framing, focus, exposure, and timing more than on a complicated interface. Current Raspberry Pi camera software uses rpicam applications. Start with a supported camera and prove a single still capture before scheduling a longer run.
02 / Materials & software
| Item | What to check |
|---|---|
| Raspberry Pi and camera | Check the camera and cable match the Pi connector. |
| Stable mount | Secure the camera before collecting frames. |
| Raspberry Pi OS | Use a supported image with camera software. |
| Storage and power | Estimate space from a short sample run. |
03 / Connections & first setup
Shut down and disconnect power before connecting the camera ribbon. Follow the connector orientation for the specific Pi and camera. Make sure the cable does not pull on the lens or board when the mount is adjusted.
04 / Build the project
- Capture one frame
Use rpicam-still to save a test image. Inspect the file at full size for focus and framing. Fix the camera position now; software cannot recover a scene that moves out of view.
- Try a short sequence
Create an empty frames directory and run the example command below. It requests a two-minute sequence with ten-second intervals. Count actual outputs and inspect their timestamps instead of assuming the requested cadence was achieved perfectly.
- Control changing variables
For a static scene, evaluate whether fixed exposure and white balance improve consistency. Use the official camera options for your setup. Compare a short automatic sequence and a short fixed sequence before selecting settings.
- Budget storage
Measure the average frame size from your own sample. Multiply it by the planned number of frames and leave space for logs and the finished video. Keep the capture directory separate from exported movies.
- Assemble after review
Remove accidental test frames and verify numerical ordering. Use the official documentation’s video-assembly workflow with a frame rate appropriate for the result. Keep the original stills so the movie can be rebuilt.
Short capture test — run inside an empty frames directory
rpicam-still --timeout 120000 --timelapse 10000 --output frame%04d.jpg05 / Check the result
| Check | Expected behavior |
|---|---|
| Frame order | Filenames sort into capture order. |
| Focus and exposure | The subject stays clear across the short test. |
| Long run | Available storage exceeds the measured requirement. |
Troubleshooting. Flicker often comes from changing automatic exposure or artificial lighting. Gaps may come from a slow card or a busy system. Review original images before changing the movie encoder, because an encoder cannot restore missing captures.
06 / Sources & build notes
Prepared by PineMux from the official sources above. These are editorial build instructions; this project has not been bench-tested by PineMux. The cover shows reference hardware or a source project; image credit is provided above. Use the manufacturer’s revision-specific diagrams for exact wiring.