
01 / Project overview
Begin with a reliable stream of timestamped temperature, humidity, and pressure readings. The Raspberry Pi Foundation weather-station project is a useful architectural reference, but its repository is archived. Treat its software instructions as historical and use current drivers for the sensors you actually buy.
02 / Materials & software
| Item | What to check |
|---|---|
| Raspberry Pi | A supported Raspberry Pi OS image and stable power. |
| Environmental sensors | Choose documented digital sensors with known units. |
| Storage | A microSD card with room for logs and backups. |
| Enclosure and mounting | Add after the indoor prototype works. |
03 / Connections & first setup
Draw a separate connection sheet for each sensor, including supply voltage, bus address, and connector orientation. Do not select pins from a photo of a different HAT. Test each sensor alone before sharing an I2C bus; duplicate fixed addresses need an explicit solution.
04 / Build the project
- Define the record
Use UTC timestamps internally and keep units in the column names. Store failed readings as missing values with an error field, not as zero. Zero is a valid measurement for several weather quantities.
- Test one sensor
Read the manufacturer example for several minutes before writing a logger. Move the sensor between two ordinary room locations and confirm the readings change plausibly. This checks response, not laboratory calibration.
- Add a durable logger
Append records rather than rewriting the complete file. Rotate files by day and close them cleanly. Keep a small status log showing when collection starts, stops, or loses a sensor.
- Review a full day
Plot or inspect a day of indoor measurements. Look for gaps, implausible jumps, and times when the Pi heats the sensor. Fix these issues before increasing the number of instruments.
- Prepare the outdoor build
Separate weather exposure from electronics protection. Follow the sensor maker’s enclosure and placement guidance. Photograph the final mounting and write down its height, shade, and nearby heat sources so later readings have context.
Suggested CSV schema
time_utc,temperature_c,humidity_pct,pressure_hpa,status
2026-09-29T01:00:00Z,23.1,51.0,1011.8,ok
05 / Check the result
| Check | Expected behavior |
|---|---|
| Restart | Logging resumes in the correct daily file. |
| Sensor removed | An error is recorded without a fabricated reading. |
| Clock checked | Timestamps remain ordered and carry a timezone. |
Troubleshooting. Regular gaps often point to blocking network calls or storage errors rather than a sensor. Keep collection independent of a web dashboard. A warm temperature trace may come from the enclosure or computer; moving the sensor is often more useful than adding a software offset.
06 / Sources & build notes
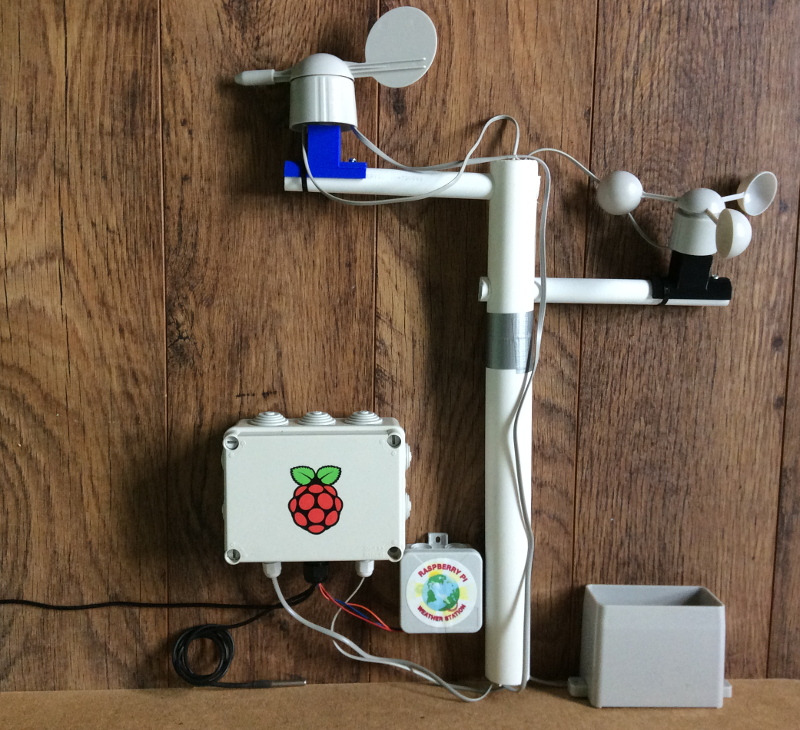
Prepared by PineMux from the official sources above. These are editorial build instructions; this project has not been bench-tested by PineMux. The cover shows reference hardware or a source project; image credit is provided above. Use the manufacturer’s revision-specific diagrams for exact wiring.