
01 / Project overview
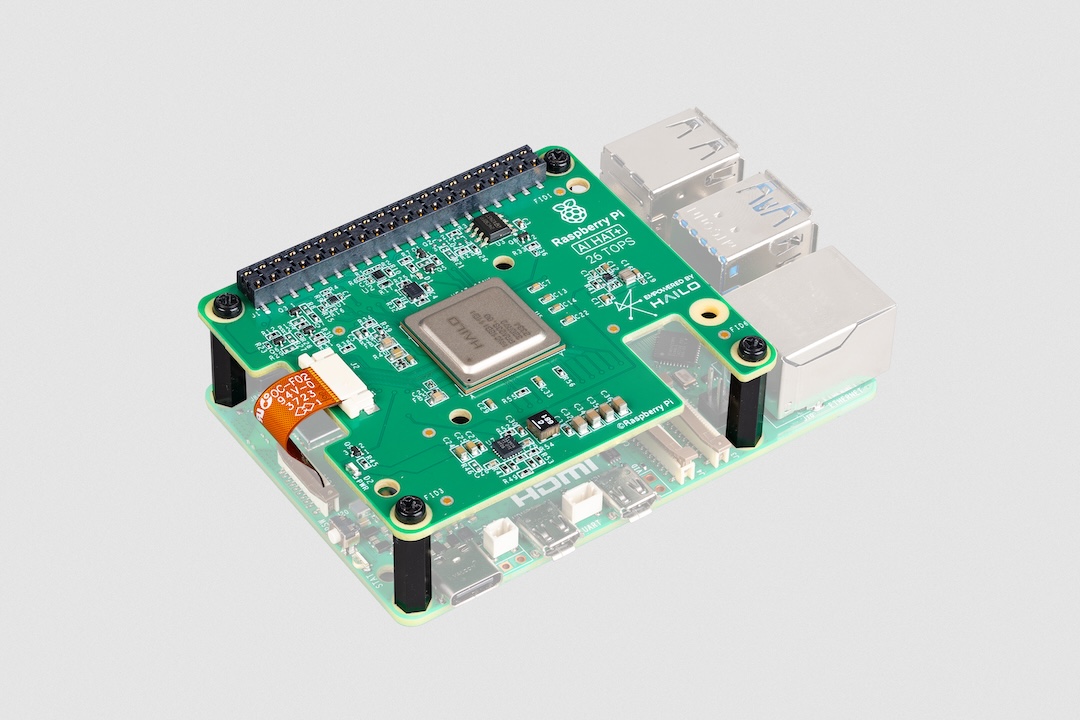
The Raspberry Pi AI HAT+ adds an accelerator to Raspberry Pi 5. The first project should use a model and pipeline supported by the installed software stack. Keep AI HAT+ and AI HAT+ 2 instructions separate; their hardware and supported workloads are not interchangeable.
02 / Materials & software
| Item | What to check |
|---|---|
| Raspberry Pi 5 | Use appropriate power and cooling. |
| AI HAT+ | Record the accelerator variant. |
| Supported camera | Bring up normal camera capture first. |
| Current documented software | Use the official installation path for this HAT. |
03 / Connections & first setup
Disconnect power before fitting the HAT and PCIe ribbon. Follow the official assembly sequence and inspect connector orientation. Keep cooling clearance in the enclosure; software benchmarking is meaningless if the board repeatedly throttles or loses power.
04 / Build the project
- Verify the camera
Capture an ordinary image before installing the detection demo. Confirm orientation, focus, and lighting. Save a sample so the camera path has a known baseline.
- Install the supported stack
Use the AI HAT+ documentation for packages and model resources. Record software and model versions. Confirm the accelerator is detected before troubleshooting an application pipeline.
- Run a supplied example
Use the documented object-detection demo without changing its model. Test with an object category the model actually supports. A label absent from the model cannot be created by lowering a confidence threshold.
- Build a small evaluation set
Choose a few scenes: a clear object, partial obstruction, dim light, and an empty scene. Repeat each several times. Record false detections and missed detections alongside successful ones.
- Add a useful output
Start with an on-screen count or a saved event record. Keep confidence and timestamp with each event. Add persistence across frames before turning individual detections into notifications.
Evaluation notes
scene,model_version,expected_class,detected_class,confidence,notes
empty_desk,record_version,none,record_result,record_value,lighting
05 / Check the result
| Check | Expected behavior |
|---|---|
| Hardware detection | The installed tools report the expected accelerator. |
| Known object | The supported demo produces a plausible label. |
| Empty scene | False positives are measured rather than hidden. |
Troubleshooting. Model accuracy depends on training categories and scene conditions. A high frame rate does not establish correct detections. Keep camera faults, accelerator setup, and model behavior as separate checks so one change can be evaluated at a time.
06 / Sources & build notes
Prepared by PineMux from the official sources above. These are editorial build instructions; this project has not been bench-tested by PineMux. The cover shows reference hardware or a source project; image credit is provided above. Use the manufacturer’s revision-specific diagrams for exact wiring.