
01 / Project overview
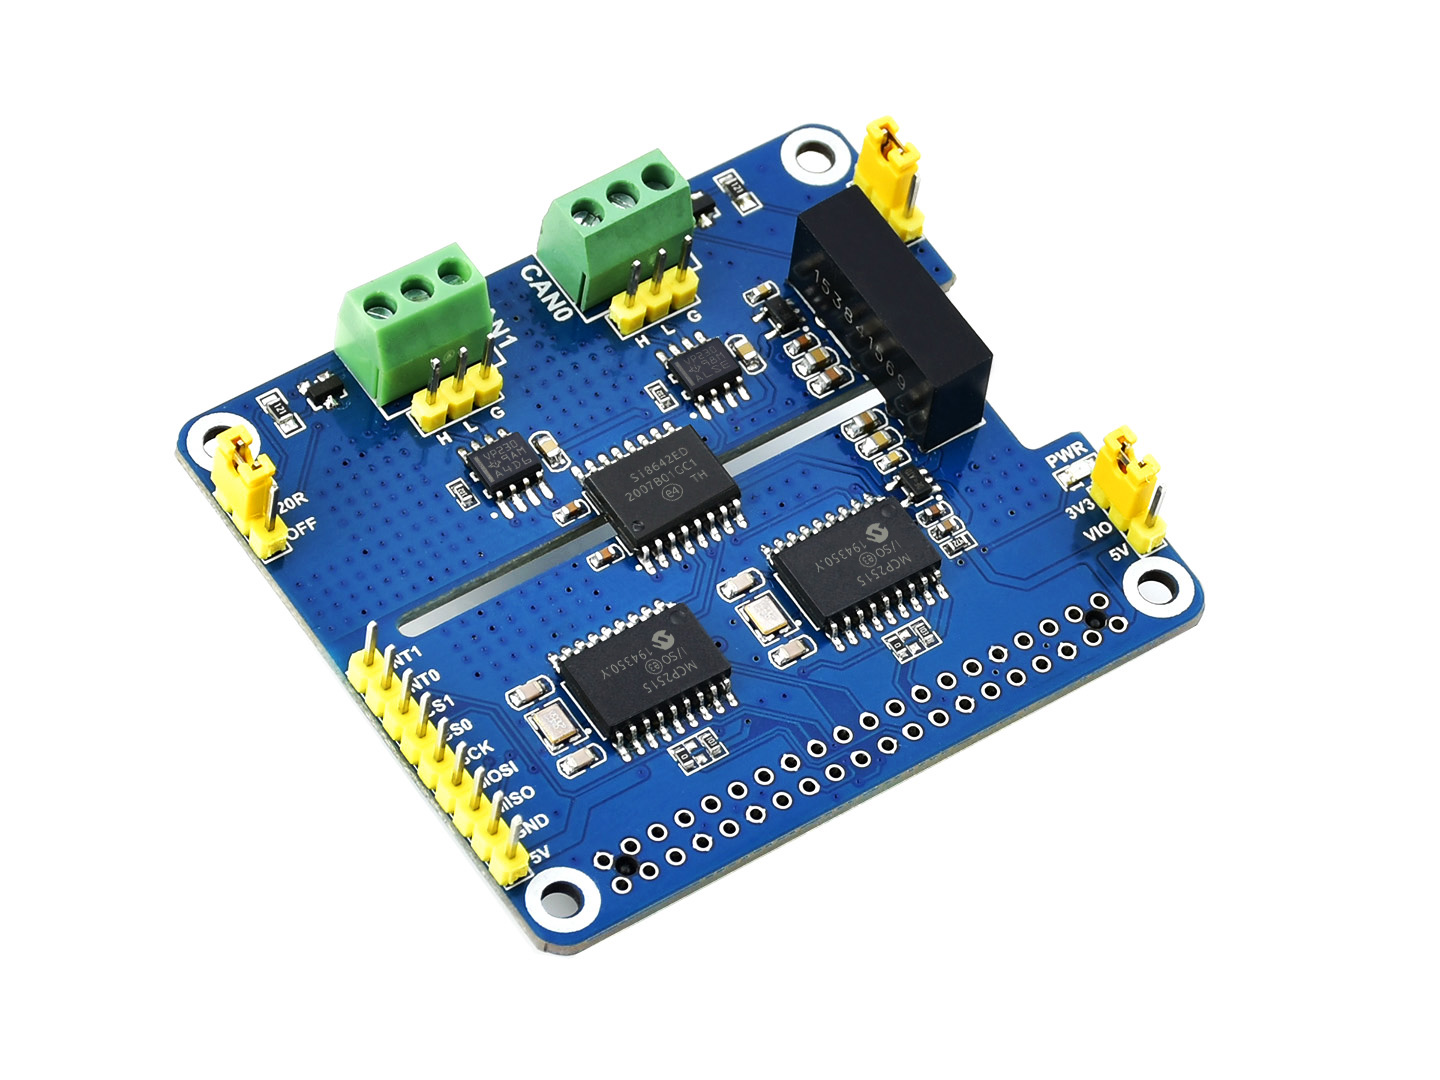
This is an isolated bench exercise using the Waveshare 2-CH CAN HAT. The manufacturer documents a test connecting its two channels to each other. Use the instructions for this exact HAT; CAN HAT+, CAN FD HAT, and other boards have different controllers or configuration.
02 / Materials & software
| Item | What to check |
|---|---|
| 2-CH CAN HAT | Confirm the model without a + or FD suffix. |
| Compatible Raspberry Pi | Use an OS with the required driver support. |
| Short test cable | Connect the two documented CAN channels. |
| can-utils | Install the package on the test Pi. |
03 / Connections & first setup
With power off, connect CAN0_H to CAN1_H and CAN0_L to CAN1_L as described in the manufacturer’s test. Follow its reference-ground and termination arrangement. Keep this self-contained bench network disconnected from vehicles and operating machinery.
04 / Build the project
- Apply the board configuration
Use the current HAT instructions and the boot configuration location for your OS. Back up that file before editing. Confirm both interfaces appear after reboot; do not guess oscillator or interrupt settings from another CAN board.
- Set a shared bitrate
Bring both interfaces up with the same bitrate. The command block below uses 500 kbit/s as a deliberate bench choice, not as a claim about an existing bus. Check interface statistics before sending.
- Receive before transmitting
Start candump on can0 in one terminal. Send one frame from can1 in another. Compare identifier and payload with what you sent; a successful command exit alone is not the acceptance test.
- Reverse the direction
Repeat the exercise with the channels swapped. Record interface names and results. Testing both directions catches wiring or setup assumptions that a single successful message can hide.
- Inspect errors
Read interface statistics after the test and note error counters. Stop the interfaces before rewiring or changing bitrate. Preserve the working boot configuration with the project notes.
Bench commands — after both interfaces are configured
sudo ip link set can0 up type can bitrate 500000
sudo ip link set can1 up type can bitrate 500000
candump can0
# In a second terminal:
cansend can1 123#01020304
# Inspect statistics:
ip -details -statistics link show can0
05 / Check the result
| Check | Expected behavior |
|---|---|
| can1 to can0 | Identifier 123 and payload 01 02 03 04 arrive. |
| Reverse direction | The same controlled test works on the other channel. |
| Statistics | Unexpected error counters are investigated. |
Troubleshooting. No received frame can mean a bitrate, driver, wiring, or termination problem. Work through those separately. If only one interface appears, return to the exact board overlay instructions before changing the user-space commands.
06 / Sources & build notes
Prepared by PineMux from the official sources above. These are editorial build instructions; this project has not been bench-tested by PineMux. The cover shows reference hardware or a source project; image credit is provided above. Use the manufacturer’s revision-specific diagrams for exact wiring.