
01 / Project overview
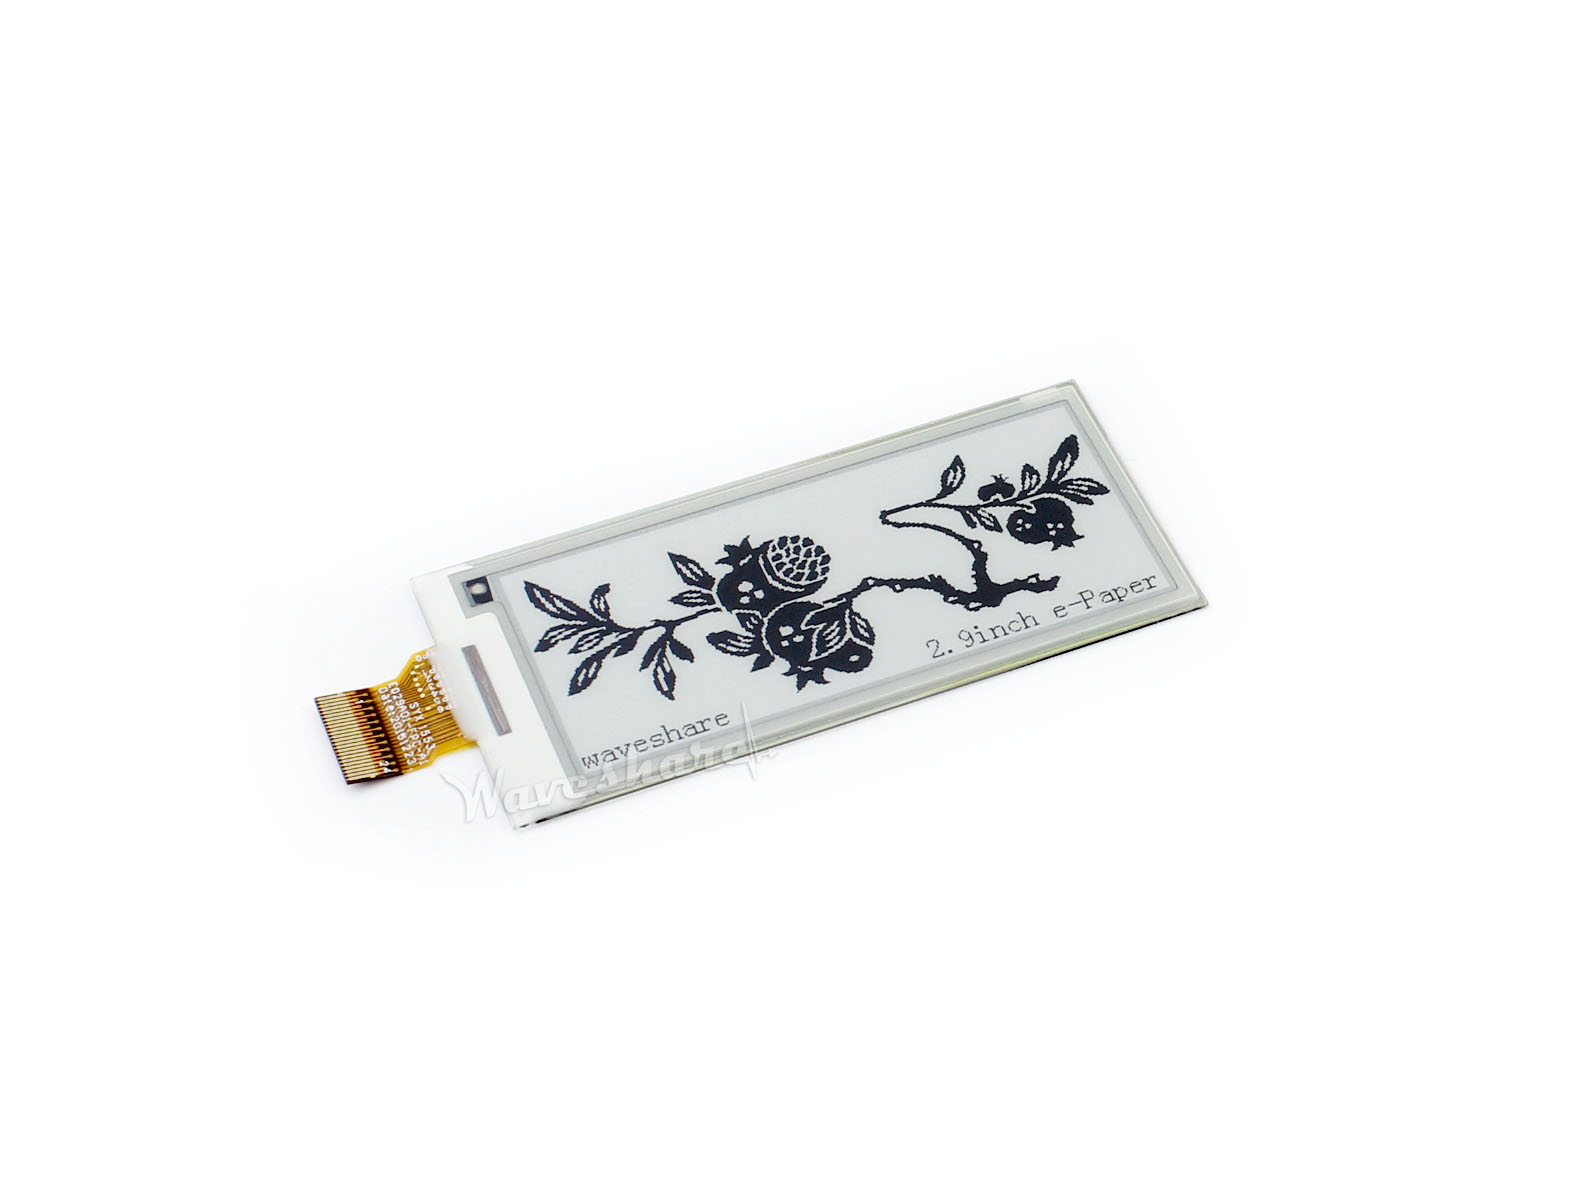
An e-paper status board is useful for information that changes slowly. This project targets the Waveshare 2.9-inch monochrome module family. Select the driver for the panel’s revision; the manual distinguishes V1, V2, and V3 behavior. A retained image can outlive a running computer, so always show its update time.
02 / Materials & software
| Item | What to check |
|---|---|
| 2.9-inch e-Paper module | Read the revision on the panel and driver board. |
| Raspberry Pi | Use the supported GPIO library for your OS. |
| Documented connection cable | Keep SPI wiring short and secure. |
| Stable power | Develop on the bench before adding an enclosure. |
03 / Connections & first setup
Follow the module’s Raspberry Pi wiring table for VCC, ground, SPI, reset, data/command, and busy. Check the driver-board revision’s voltage compatibility. Raw panels and complete level-shifted modules are different electrical products; this project assumes the complete documented module.
04 / Build the project
- Run the matching example
Use the official demo for your panel revision and confirm a clean full-screen image. Keep the busy signal connected as documented. Save the working code and identify the initialization and sleep calls.
- Choose four facts
Display a device name, uptime, storage use, and last update time. Avoid private network details if the board will be visible in a public area. Keep collection separate from image drawing.
- Lay out a static image
Render a sample with deliberately long values before reading live data. Give the timestamp a fixed location. Truncate or wrap text deliberately rather than letting it run beyond the panel edge.
- Refresh at a suitable interval
Follow the manual’s refresh guidance; its general recommendation is at least 180 seconds between ordinary refreshes. Use full refreshes as required and put the panel to sleep after drawing. Do not use a fast polling loop as the refresh scheduler.
- Test stale information
Stop the application and verify the screen still makes sense because the timestamp is visible. Restart, reinitialize as required, and update it. The image remaining on the panel is not proof that the Pi is online.
Suggested screen
WORKBENCH PI
Uptime: 2 h 14 m
Storage: 38% used
Updated: 2026-09-29 09:30 UTC
05 / Check the result
| Check | Expected behavior |
|---|---|
| Long values | Text remains inside the image bounds. |
| Application stopped | The visible timestamp identifies stale information. |
| Next update | Wake, refresh, and sleep complete normally. |
Troubleshooting. A shifted image can indicate the wrong dimensions or revision-specific driver. A stuck update needs checking of busy, reset, power, and library compatibility. Return to the matching official demo instead of repeatedly issuing rapid refreshes.
06 / Sources & build notes
Prepared by PineMux from the official sources above. These are editorial build instructions; this project has not been bench-tested by PineMux. The cover shows reference hardware or a source project; image credit is provided above. Use the manufacturer’s revision-specific diagrams for exact wiring.