
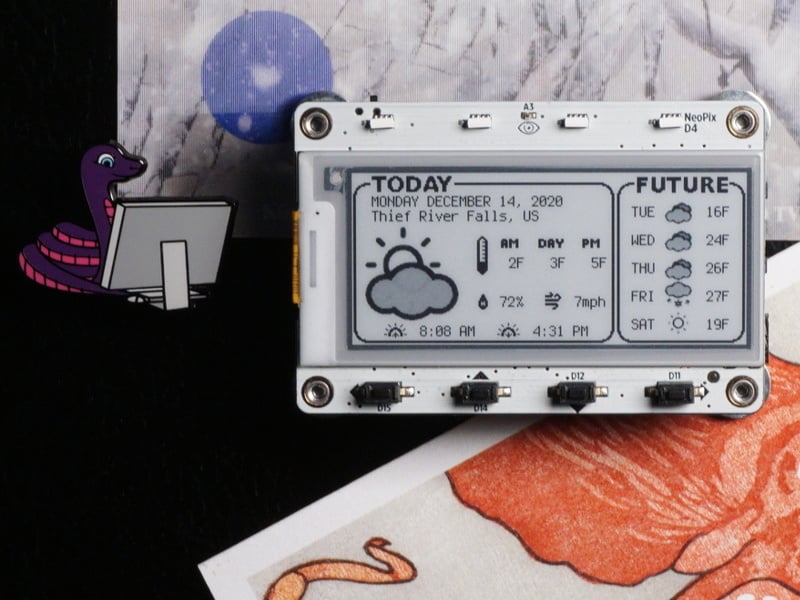
01 / Project overview
A useful weather display answers three questions at a glance: what is happening, when was the data fetched, and is the connection working? Start with one location and one forecast period. The current Adafruit project uses Open-Meteo; older copies built around OpenWeatherMap are a different software baseline.
02 / Materials & software
| Item | What to check |
|---|---|
| MagTag board | Use the CircuitPython build for this exact board. |
| USB data cable | Keep USB power during the first build. |
| Wi-Fi access | Use a network the board supports. |
| Computer | Install matching CircuitPython libraries and edit settings. |
03 / Connections & first setup
The display and controller are already on the MagTag. Keep the first version on USB so a battery does not complicate debugging. Record the board revision, CircuitPython version, and library bundle date together before changing the example.
04 / Build the project
- Prove the display
Follow the linked Adafruit guide until its unmodified display example works. Save a copy of the working files before changing any layout. A blank panel at this stage is a hardware or software setup issue, not a forecast parsing issue.
- Choose a location
Set the coordinates and timezone for one location. Keep credentials in the configuration file expected by your installed CircuitPython version. Check the provider response on your computer and identify the fields actually needed for the screen.
- Draw an offline example
Use fixed sample values to arrange location, temperature, conditions, and update time. Keep long condition names from overlapping the timestamp. Test both a short location name and one that occupies the full width.
- Connect and cache
Fetch data separately from drawing. Keep the last successful result when a request fails and label it as stale. Follow the display guide for refresh and sleep behavior; repeated redraws are unnecessary for slowly changing weather.
- Make it readable
View the display from its intended desk position. Reduce decoration before shrinking the main temperature. Record a successful update, then disconnect Wi-Fi to check that the last result remains understandable.
Screen content contract — illustrative data
Location: Studio
Temperature: 23 C
Updated: 09:30 local
Connection: offline; showing last update
05 / Check the result
| Check | Expected behavior |
|---|---|
| Network available | A new timestamp appears after a successful fetch. |
| Network unavailable | Last values remain visible with a stale indicator. |
| Long text | No label covers the temperature or timestamp. |
Troubleshooting. If the board connects but displays nothing new, compare the response field names with the installed example. If time looks wrong, check timezone handling before changing the device clock. Store one known-good response locally to separate layout errors from network errors.
06 / Sources & build notes
Prepared by PineMux from the official sources above. These are editorial build instructions; this project has not been bench-tested by PineMux. The cover shows reference hardware or a source project; image credit is provided above. Use the manufacturer’s revision-specific diagrams for exact wiring.