
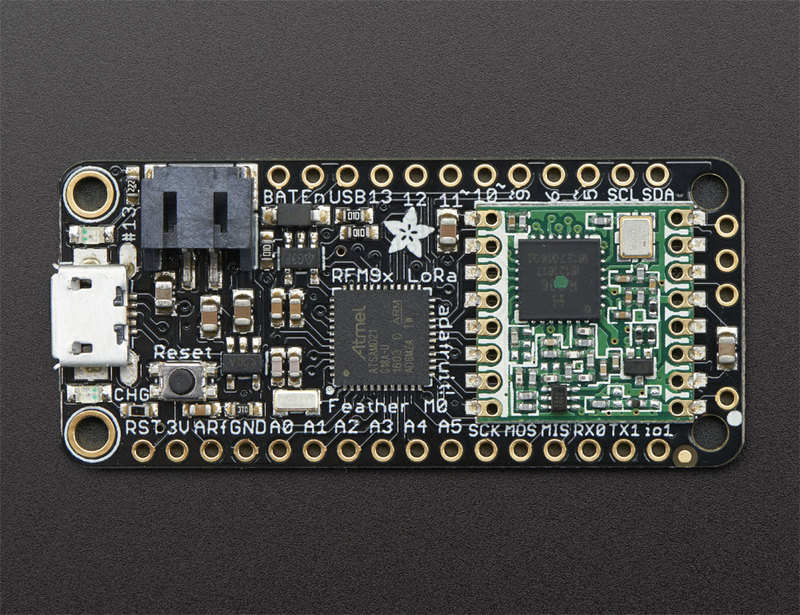
01 / Project overview
This project starts with two matching Adafruit Feather M0 LoRa boards and the manufacturer’s radio example. Build a small point-to-point link, then carry one sensor value. LoRa here is the radio transport; a pair of boards running a packet example is not automatically a LoRaWAN network.
02 / Materials & software
| Item | What to check |
|---|---|
| Two matching LoRa boards | Use frequency variants suitable for your location. |
| Matched antennas | Fit the specified antenna before transmitting. |
| USB cables and power | Keep both nodes on the bench initially. |
| Optional sensor | Add only after packet exchange works. |
03 / Connections & first setup
Use each board’s onboard radio wiring and the matching example. Keep antenna connections secure and follow the radio maker’s power and operating guidance. Select channel and transmit settings permitted for your location; do not assume settings from a video in another country apply.
04 / Build the project
- Establish a radio baseline
Load the official sender and receiver examples for the exact radio family. Confirm both sides use matching parameters. Keep the boards nearby for the first exchange so range is not a debugging variable.
- Add a sequence number
Send a node identifier, an increasing sequence number, and one value. Make the payload small enough to inspect by eye. Keep the message format documented in the same folder as the firmware.
- Count missing packets
On the receiver, compare each sequence with the previous one. Record gaps, duplicates, and restarts separately. An acknowledgment can be added later; first learn what the unacknowledged link actually does.
- Attach a real sensor
Replace the fixed value with a reading and a clear unit. If the sensor fails, send a status or omit that reading instead of sending a plausible zero. Limit the send rate to the needs of the measurement.
- Run a repeatable range test
Choose fixed positions and send the same number of packets at each. Record obstacles and antenna orientation. Report your measured delivery ratio rather than copying a manufacturer’s maximum-range claim.
Example payload format
node=planter-1;seq=42;temp_c=23.4;status=ok05 / Check the result
| Check | Expected behavior |
|---|---|
| Same settings | Receiver decodes the intended node’s packets. |
| Sender reset | Sequence restart is handled explicitly. |
| Missing packet | A gap is visible in the receiver log. |
Troubleshooting. No packets at close range usually means the examples, parameters, frequency variants, or antenna setup do not match. Do not increase transmit power as the first debugging step. Preserve a working radio-only example before adding sensor and sleep code.
06 / Sources & build notes
Prepared by PineMux from the official sources above. These are editorial build instructions; this project has not been bench-tested by PineMux. The cover shows reference hardware or a source project; image credit is provided above. Use the manufacturer’s revision-specific diagrams for exact wiring.