
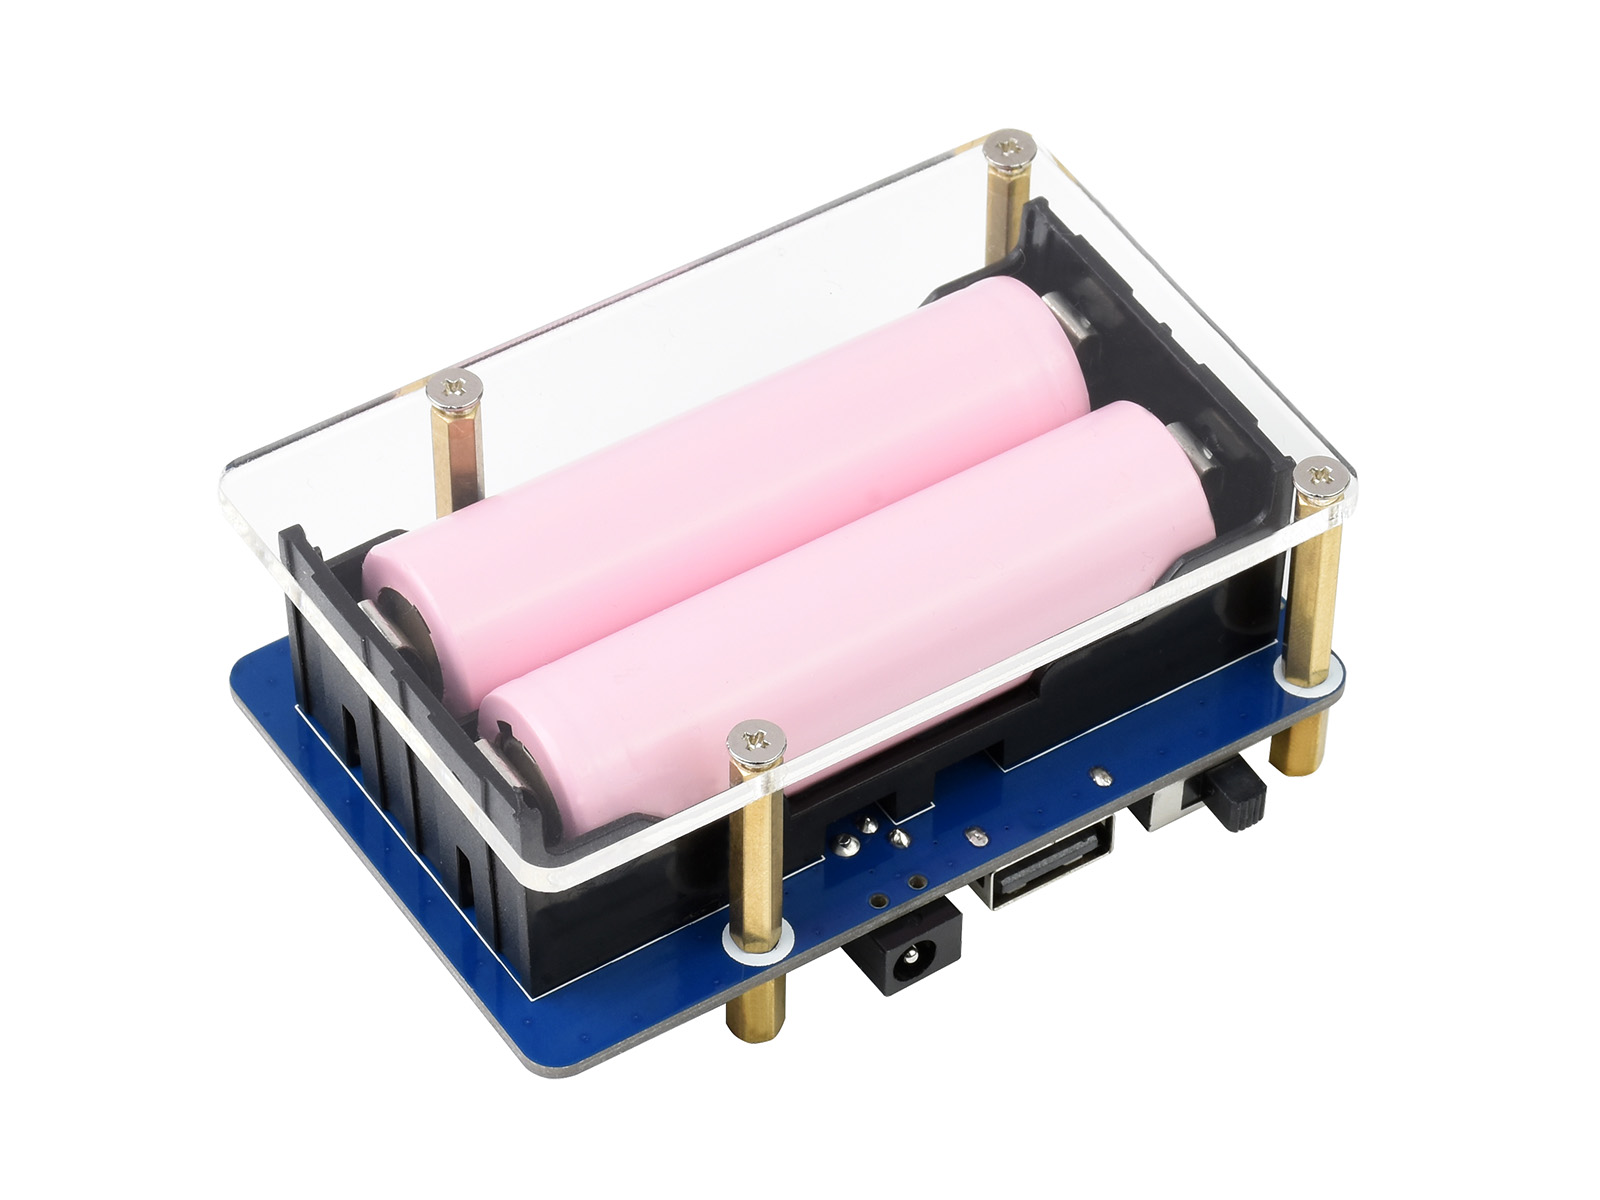
01 / Project overview
The UPS HAT (B) offers an I2C telemetry example based on INA219 readings. Use this project to observe voltage and current during normal charging and backup operation. A first version should log behavior; a reliable shutdown system needs additional recovery and threshold testing.
02 / Materials & software
| Item | What to check |
|---|---|
| UPS HAT (B) | Use the B manual and exact board revision. |
| Compatible Raspberry Pi | Check the HAT’s supported output and load. |
| Manufacturer-specified batteries | Use the required type and installation procedure. |
| Specified input supply | Check polarity and charging guidance before assembly. |
03 / Connections & first setup
Follow the manufacturer’s battery installation, polarity, and power connection sequence. Keep terminals clear of loose metal. This article does not replace the HAT’s battery instructions; use those instructions for cell selection and handling, then keep the bench setup mechanically stable.
04 / Build the project
- Read telemetry first
Enable I2C and run the official INA219 example. Record battery voltage and current with external input present. Identify units and the example’s sign convention before assigning charging or discharging labels.
- Record a controlled transition
Following the manual, remove external input for a brief observation while the Pi continues running. Save the telemetry change and restore input. Avoid draining the battery merely to prove the graph can go down.
- Build a timestamped log
Append voltage, current, and operating state to a file. Treat a failed sensor read as unavailable. Do not infer an exact remaining runtime from one voltage reading or an uncalibrated percentage.
- Add a trend view
Show recent measurements and mark input transitions. Keep raw values available alongside any smoothing. A sudden load change can be informative and should not disappear completely behind a moving average.
- Plan shutdown separately
Before adding automatic shutdown, define low-battery criteria, persistence, clean OS shutdown, and how power will return. Test those behaviors with the documented hardware controls as a separate milestone.
Suggested log fields
time_utc,battery_voltage_v,current_ma,reported_state,read_status05 / Check the result
| Check | Expected behavior |
|---|---|
| External input | Baseline telemetry is stable and labeled. |
| Backup interval | The current direction changes as documented. |
| Read failure | The monitor reports unavailable rather than zero volts. |
Troubleshooting. A reversed current label is often a sign-convention issue. Read the example carefully before changing the hardware. If the Pi resets during a supply transition, check the supported load and power path; a prettier dashboard cannot correct an inadequate power setup.
06 / Sources & build notes
Prepared by PineMux from the official sources above. These are editorial build instructions; this project has not been bench-tested by PineMux. The cover shows reference hardware or a source project; image credit is provided above. Use the manufacturer’s revision-specific diagrams for exact wiring.