
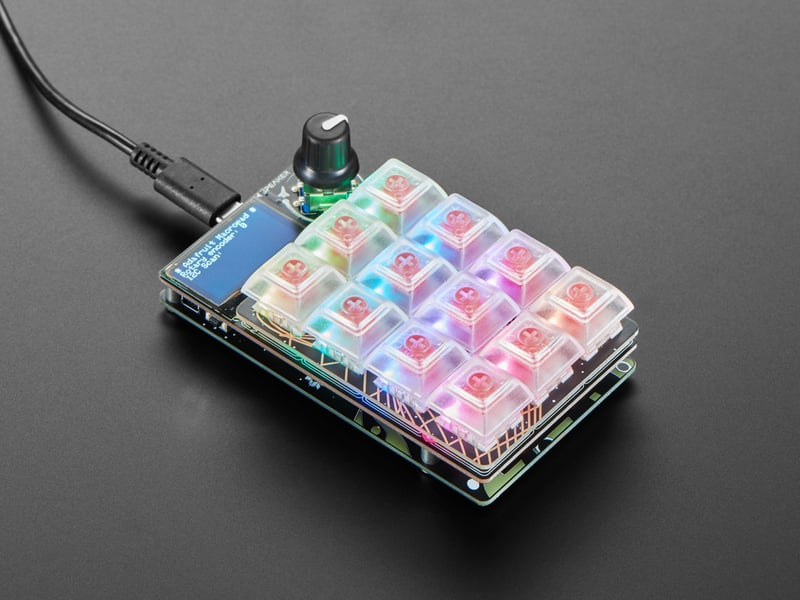
01 / Project overview
A macro pad is most useful when its actions are predictable. This build uses the Adafruit MacroPad RP2040 and its documented CircuitPython keyboard and mouse support. The board’s keys and rotary encoder are already connected; a bare Pico requires a different wiring and input design.
02 / Materials & software
| Item | What to check |
|---|---|
| MacroPad RP2040 | Use the board named in the source guide. |
| USB data cable | Connect directly while configuring. |
| CircuitPython and HID libraries | Use a matching bundle for the installed version. |
| Text editor on the host | A safe place to inspect test key presses. |
03 / Connections & first setup
No external key wiring is needed for the named board. Confirm the keyboard layout used by the host before assigning symbols. Keep a way to stop the script during development so a looping key press cannot repeatedly trigger a shortcut.
04 / Build the project
- Confirm input events
Run the board’s key example and check each key number. Label the physical arrangement on paper. Test the encoder separately so you know which input produced each event.
- Send one benign key
Use the official HID example with a blank text editor focused. Send one character on a press and release it explicitly. Check that holding a key does not start an unintended flood of actions.
- Map a small workflow
Choose three shortcuts from one application. Keep a plain-text map in the project directory and make key labels match that map. Avoid shortcuts that delete or submit work during the first test.
- Add visual feedback
Use a stable color for the active profile and a brief indication when a key is pressed. Do not require color alone to identify a destructive action. Keep labels legible at the actual desk angle.
- Check application focus
Test what happens when another window is active. Add a profile switch or separate layouts before expanding to several applications. Save the known-good profile so later remapping is easy to undo.
Example profile specification
Profile: Writing
Key 1: Copy
Key 2: Paste
Key 3: Undo
Encoder: reserved until tested
05 / Check the result
| Check | Expected behavior |
|---|---|
| Single press | Exactly one intended shortcut is received. |
| Key release | No modifier remains held down. |
| Profile switch | Labels and actions change together. |
Troubleshooting. A shortcut that works in one program may mean something else in another. If punctuation looks wrong, check host keyboard layout. If modifiers stick, inspect release handling before adding delays that only hide the fault.
06 / Sources & build notes
Prepared by PineMux from the official sources above. These are editorial build instructions; this project has not been bench-tested by PineMux. The cover shows reference hardware or a source project; image credit is provided above. Use the manufacturer’s revision-specific diagrams for exact wiring.