
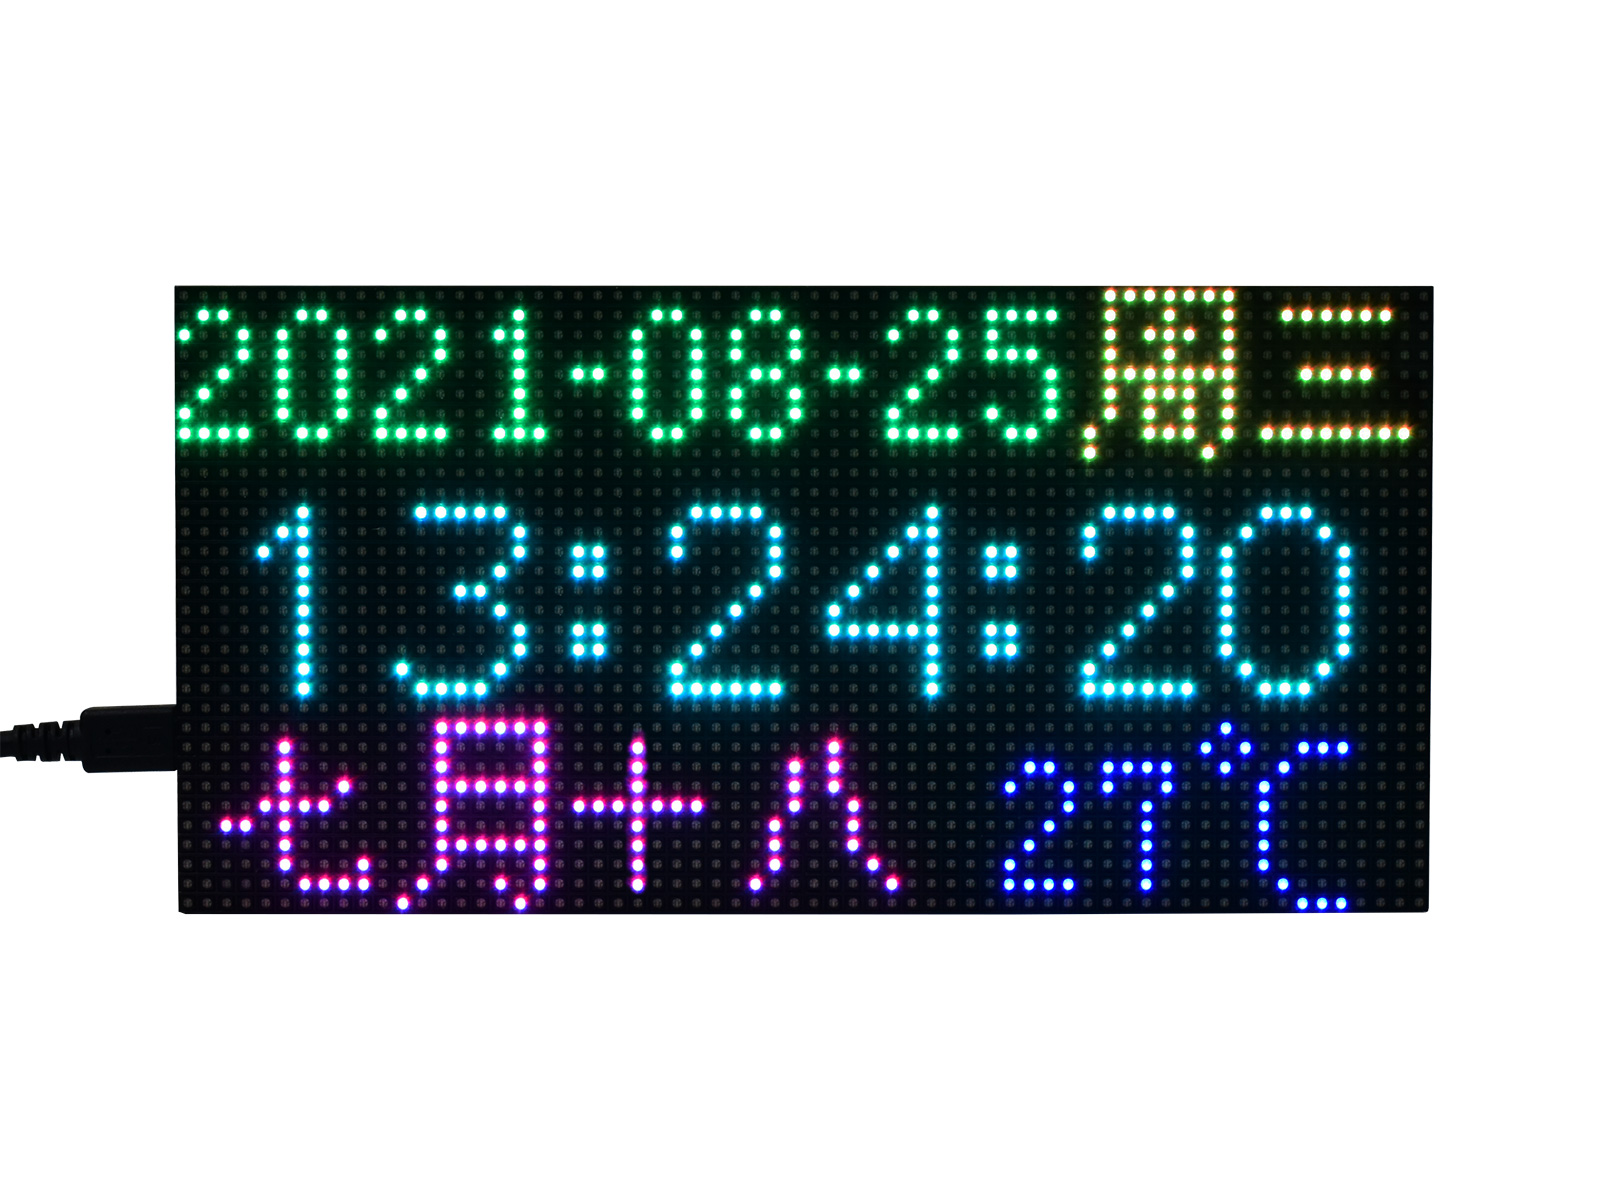
01 / Project overview
The Waveshare Pico RGB matrix kit combines a 64 × 32 panel with a Pico interface, a DS3231 real-time clock, controls, and a light sensor. Begin with its supplied clock firmware, then simplify the interface around the way you will use the clock on a desk.
02 / Materials & software
| Item | What to check |
|---|---|
| Pico RGB matrix kit | Check that the panel and control board belong together. |
| Compatible Pico | Use the board supported by the chosen firmware. |
| Specified power supply | Power the panel according to the kit manual. |
| Case parts and standoffs | Keep the panel mechanically supported. |
03 / Connections & first setup
Assemble the panel, control board, and Pico exactly as shown in the kit instructions. Do not assume a generic matrix wiring example has the same pin map. Inspect power connectors before turning on the panel, and keep the first brightness setting modest.
04 / Build the project
- Load the stock clock
Use the manufacturer’s ready-made firmware or documented build. Set the time with the supplied controls. Confirm all digits and buttons work before changing fonts or adding network features.
- Choose one time format
Pick a 12-hour or 24-hour format and keep it consistent. Make the active setting visible. Store display preferences separately from the RTC time so a layout experiment does not erase the clock.
- Tune the hierarchy
Give hours and minutes the largest area. Remove distracting animation while checking readability. If showing temperature, label its source; the RTC’s own temperature reading is not a carefully placed room sensor.
- Set brightness limits
Use the light sensor as an input to a bounded brightness rule. Test in a dark room and under a desk lamp. Smooth transitions so shadows from a moving hand do not make the display pulse.
- Test power recovery
Follow the kit’s RTC backup arrangement and check what happens after main power is removed and restored. Confirm the displayed time, chosen format, and brightness preference each behave as intended.
Brightness policy — pseudocode
ambient = smoothed_light_reading()
brightness = map_to_user_range(ambient)
brightness = clamp(brightness, night_minimum, daytime_maximum)
05 / Check the result
| Check | Expected behavior |
|---|---|
| Readability | Time can be read from the normal desk position. |
| Dark room | The minimum setting remains comfortable. |
| Main power return | RTC time and display preferences are checked separately. |
Troubleshooting. If the panel is dim or blank, return to the stock firmware and check the documented brightness settings and power supply. Uneven or missing rows need wiring and panel checks before application changes. Keep a copy of the original firmware for recovery.
06 / Sources & build notes
Prepared by PineMux from the official sources above. These are editorial build instructions; this project has not been bench-tested by PineMux. The cover shows reference hardware or a source project; image credit is provided above. Use the manufacturer’s revision-specific diagrams for exact wiring.