
01 / Project overview
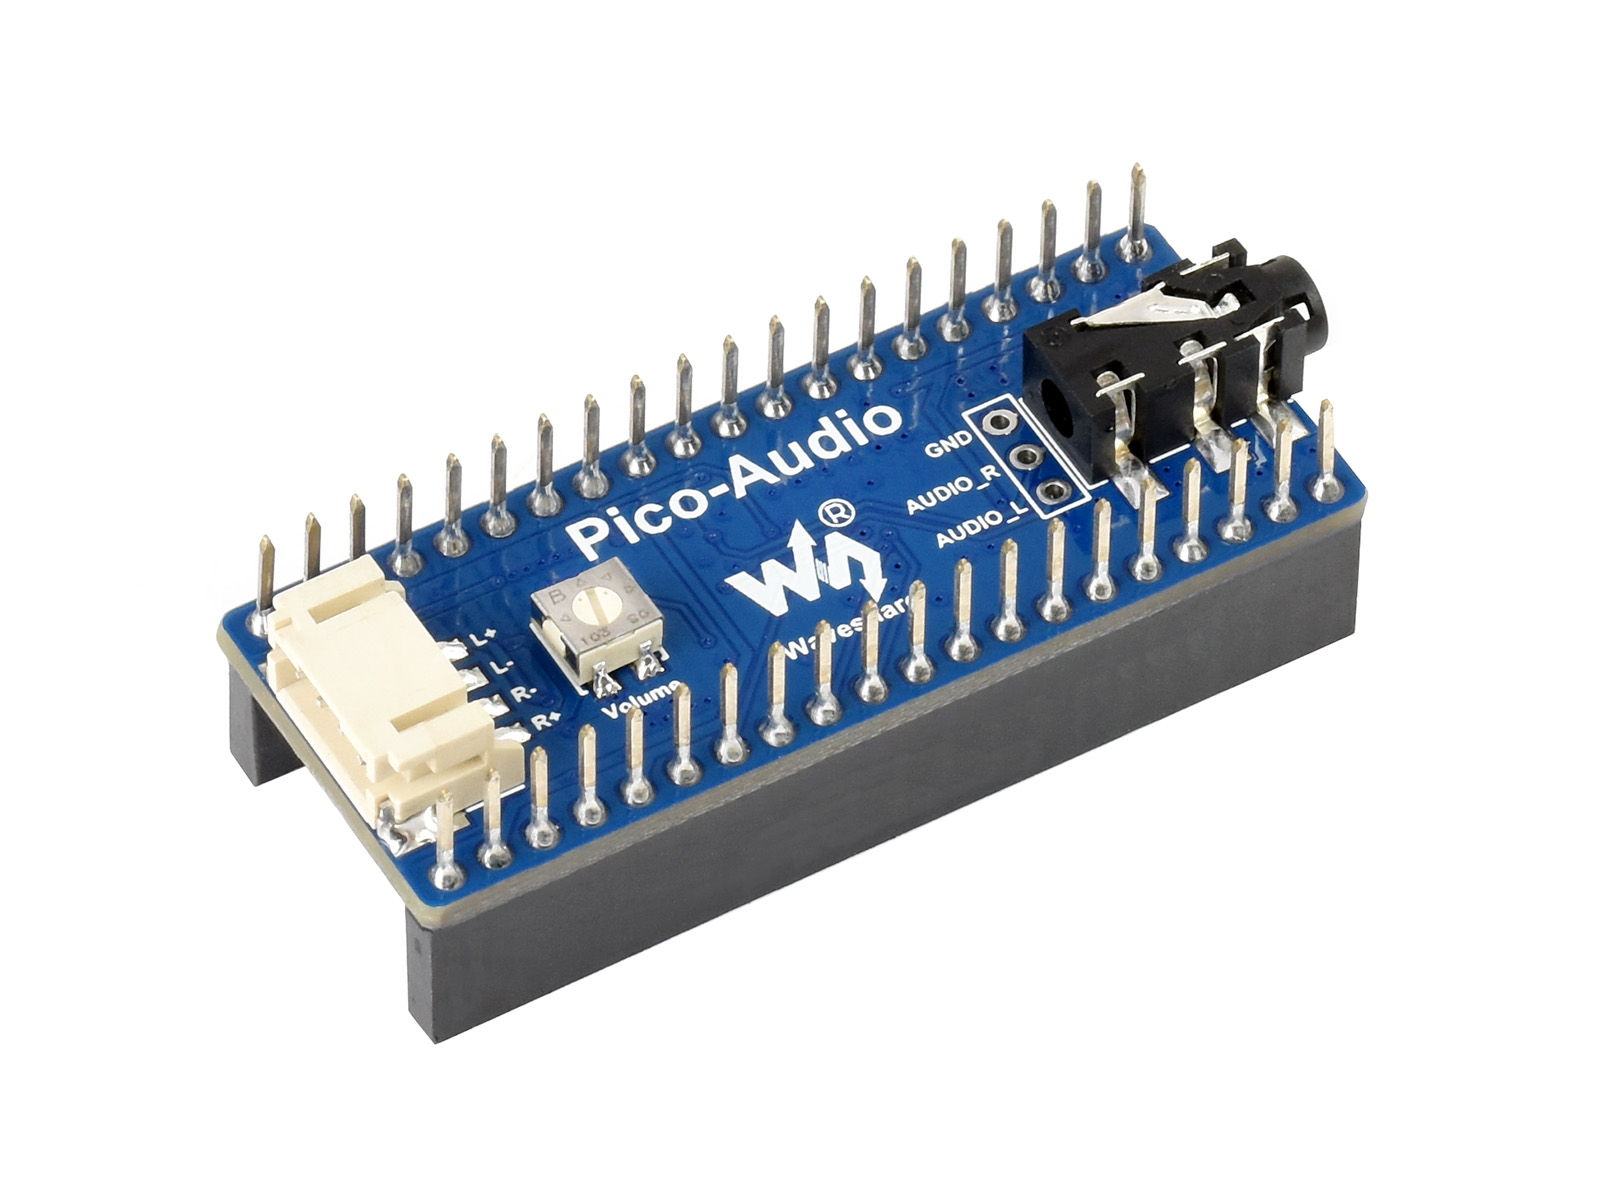
Pico-Audio provides an I2S audio path and official Pico examples, including a USB sound-card application. Hardware revisions use different DACs: the original documentation describes PCM5101A, while Rev2.1 uses CS4344. Select the example and specification that match the board in your hands.
02 / Materials & software
| Item | What to check |
|---|---|
| Pico-Audio module | Read the hardware revision label. |
| Raspberry Pi Pico | Use the supported firmware target. |
| Compatible headphones or speaker | Choose the output connection specified by the module. |
| USB host and cable | Use a computer for the first audio test. |
03 / Connections & first setup
Assemble the module with power disconnected and follow its output connector labels. Headphone and speaker outputs are different interfaces. Begin with low host volume and a short sound; do not connect a speaker output to another device’s line input.
04 / Build the project
- Load the revision-matched demo
Use the official USB sound-card firmware or build instructions for the board revision. Confirm the host recognizes an audio device. Save the original firmware before adding notification logic.
- Choose the correct output
Select the new device in the host’s audio settings and play a brief test sound at low volume. Verify left and right channels if relevant. Keep the first test simple enough to repeat after every change.
- Design one notification
Choose a short, distinct sound that is comfortable at the intended desk volume. Use an original or licensed audio file. Avoid long loops that continue indefinitely if the host application fails.
- Add a rate limit
Queue or collapse repeated events so a burst of notifications does not become continuous noise. Provide a visible mute or disable control in the host application. Keep the sound duration and minimum repeat interval in configuration.
- Test unplug and reconnect
Check what the host does when the device disappears and returns. Confirm the notifier selects the intended output again rather than silently playing through another speaker.
Notification behavior
Event received -> check mute and cooldown
Allowed event -> play one short sound
Repeated event during cooldown -> count or ignore
Device unavailable -> record event without retrying endlessly
05 / Check the result
| Check | Expected behavior |
|---|---|
| USB recognition | The expected audio device appears on the host. |
| Volume | The first sound is quiet and controlled. |
| Event burst | Repeated events respect the cooldown. |
Troubleshooting. If the host sees the device but no sound is heard, check the selected output and the module’s connector before changing firmware. A demo for another hardware revision can create confusing symptoms. Keep the sound-card baseline working before adding any embedded audio synthesis.
06 / Sources & build notes
Prepared by PineMux from the official sources above. These are editorial build instructions; this project has not been bench-tested by PineMux. The cover shows reference hardware or a source project; image credit is provided above. Use the manufacturer’s revision-specific diagrams for exact wiring.